|
HOT LIST OVERSTOCK SALE New Model RR Product DCC DCC Decoder Installations MAIL/FAX Order Form Contact / Web Info LINKS ANNOUNCEMENTS INTERNATIONAL SALES & SHIPPING POLICY |
|
HOT LIST OVERSTOCK SALE New Model RR Product DCC DCC Decoder Installations MAIL/FAX Order Form Contact / Web Info LINKS ANNOUNCEMENTS INTERNATIONAL SALES & SHIPPING POLICY |
|
DCC DECODER INSTALL PAGE |
|
Athearn CF7 Decoder Installation Instructions Instructions are for installing a Train Control Systems "T-1, T-2 or TH-141" decoder |
|
|
| 1, Remove the screw from each coupler then lift off the shell. (Caution the headlights stay in the shell) Do NOT try to pull out the bulbs or wires. |
|
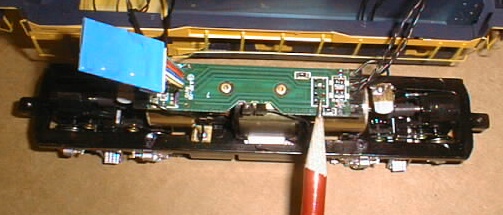
2. For "plug in" simplicity you MUST use a 9 pin decoder. What appears to be an 8-pin plug are only 8 solder pads. From the Athearn loco instructions " if the 8 pin connector is to be used it will have to be soldered into the adapter board."
|
|
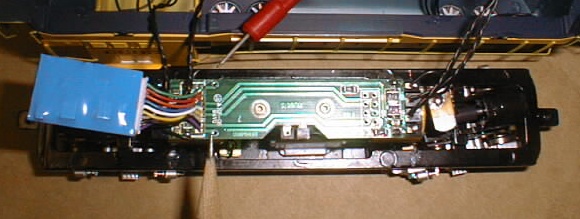
3. Unplug the 9-pin adapter from the Athearn harness.
|
|
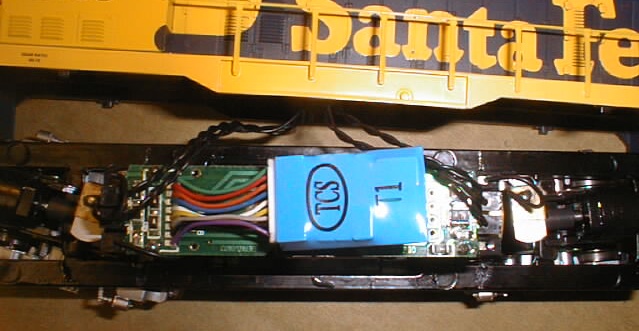
4. Plug in the decoder.
Note this loco uses "low voltage" headlight bulbs. However you will NOT have to install resistors if you plug the decoder into the existing loco plug |
|
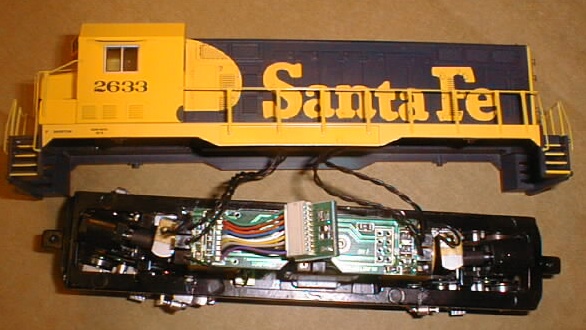
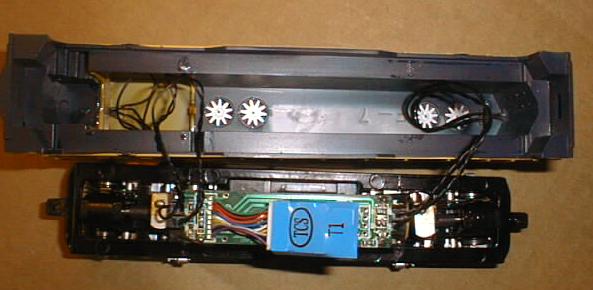
5. Note the position of the headlight wires. Position them into the cab and to the rear of the loco shell. This will make sure you have clearance for the decoder on top of the existing circuit board.
|
|
6. if you are using a decoder with more than 4 functions there are solder pads on the loco circuit board for these. Note decoder folded back to show solder pads.
|
|
7. Reinstall shell. If everything is installed correctly the couplers should slide right back into their pockets. If they don't remove shell and check for interference. 8. Program Decoder as needed. Thats it! Another simple decoder install from Ed's Boxcar and Train Control Systems. |
|
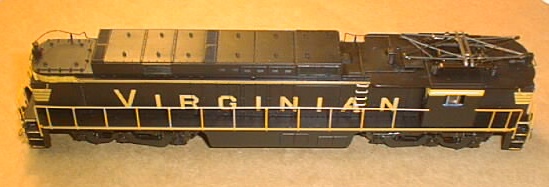
Bachmann E33 Decoder Installation Instructions Pics and Text Courtesy of Ed's Boxcar and Ernie Darrow Instructions are for installing a Train Control Systems "T-1, T-2 or TH-141"decoder |
|
|
|
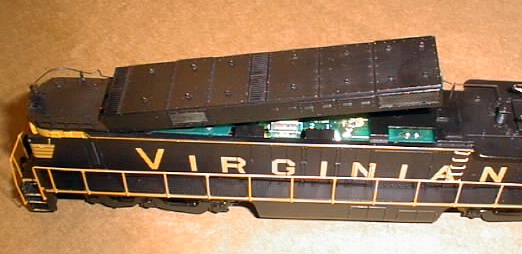
1. Remove equipment housing from top of locomotive as per instructions with locomotive
|
|
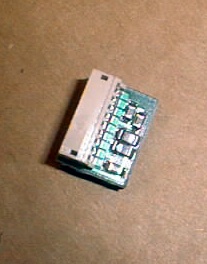
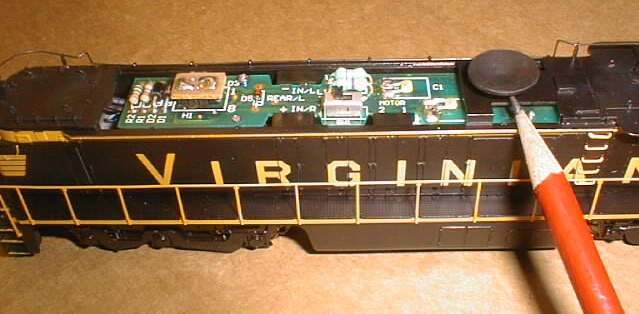
2. Using small flat blade screwdriver gently pry up on round fitting in front of the circuit board. It should "pop" right off.
|
|
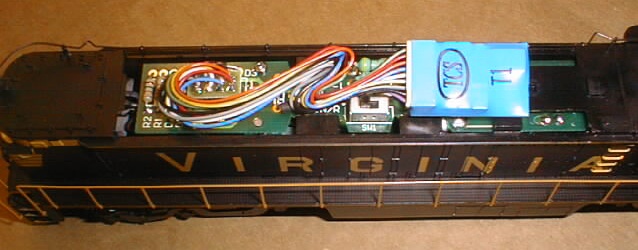
3. Remove jumper plug 4. Using a TCS 4-inch harness plug the decoder into the socket where the jumper plug was removed from.
|
|
5. Position switch for track or pantograph as needed. (Switch shown in Track position) 6. Position wire harness and decoder to allow equipment housing to be reinstalled.
|
|
7. Program decoder as needed. That's it! Another simple decoder install from Ed's Boxcar and Train Control Systems. |